Installing a kitchen exhaust system involves several steps to ensure proper ventilation and the removal of smoke, odors, grease, and heat. Here’s a general overview of the process:
1. Planning and Design
Determine the Type of Exhaust Hood: Choose between wall-mounted, under-cabinet, or island-style hoods, depending on your kitchen layout.
Sizing: Ensure the exhaust fan and hood are appropriately sized for your kitchen, based on the cooking equipment and room size.
Ventilation Requirements: The exhaust system should be vented to the outside of the building (through a duct or wall) to avoid recirculating grease-laden air.
2. Install the Exhaust Hood
Location: Install the hood above the cooking surface, typically 24 to 30 inches above the stove or cooktop.
Mounting: Secure the hood to the wall or ceiling using brackets and screws.
Electrical Connections: Connect the hood to the power supply. This may involve wiring for the fan and any lighting features, which may require a licensed electrician if you’re not comfortable with electrical work.
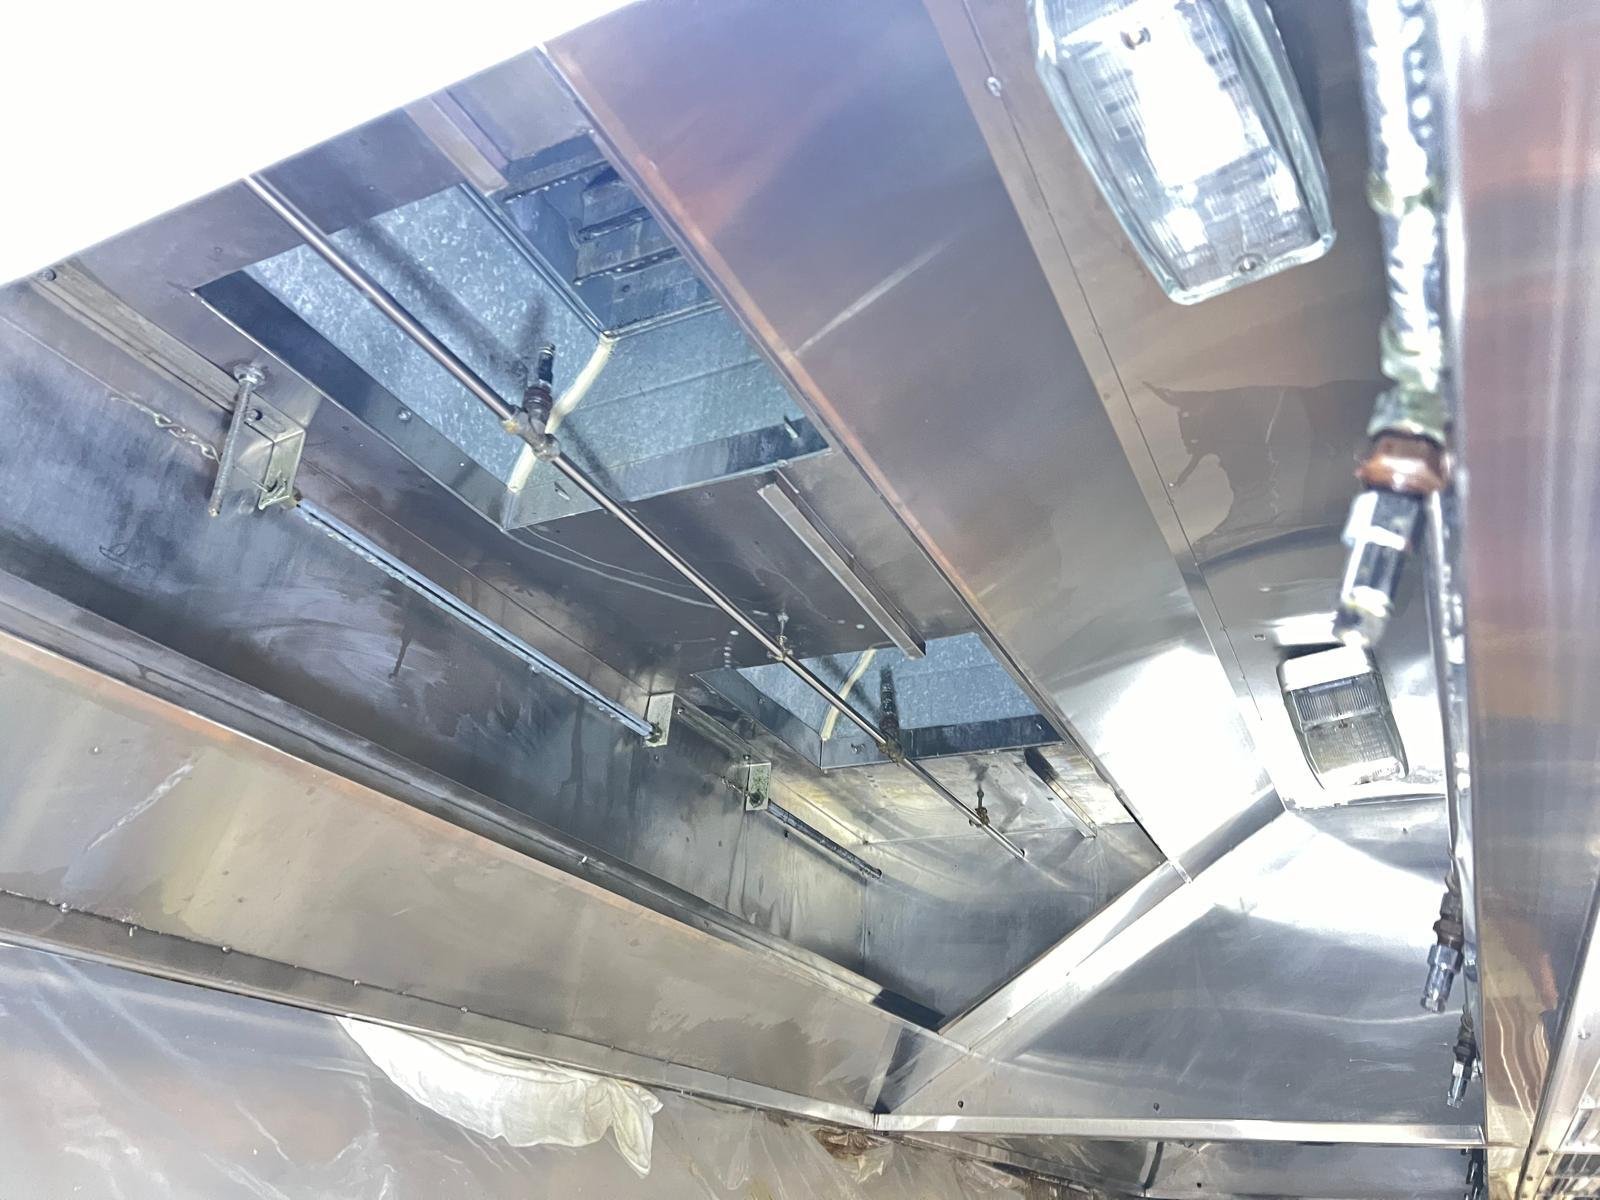
3. Install the Ductwork
Ducting Material: Use metal ductwork (usually stainless steel or galvanized) for durability and efficiency. Flexible ducts can be used but are less efficient and harder to clean.
Routing: Plan the duct route to the outside of the building. The shorter and straighter the duct, the more efficient the system will be. Avoid too many bends or turns in the ductwork.
Size of Duct: Ensure the duct diameter is large enough to handle the airflow requirements of the hood and fan.
Seal Joints: Seal the joints in the ductwork with metal tape (not duct tape) to prevent leaks and maintain efficiency.
4. Install the Exhaust Fan/Blower
Location: The fan is typically installed either within the hood or remotely, depending on the system’s design. If it’s a remote system, place the fan in the attic or on the roof.
Connection: Connect the ductwork to the fan, ensuring it’s securely fastened.
Electrical Setup: If the fan has a separate power supply, make the necessary electrical connections.
5. Vent to the Outside
Wall or Roof Vent Cap: Install a vent cap on the exterior of your home to prevent rain, debris, or animals from entering the duct.
Seal Around the Vent: Use weatherproof caulking to seal around the vent cap to avoid air leakage or water entry.
6. Test the System
Turn On the Fan: Check for proper airflow and ensure that the fan is pulling air correctly through the ducts and expelling it outside.
Check for Leaks: Inspect the entire system for any leaks, especially around duct connections.
Verify the Noise Level: Ensure the fan is running smoothly and isn’t excessively loud, which could indicate a problem with the fan or the installation.
7. Final Touches
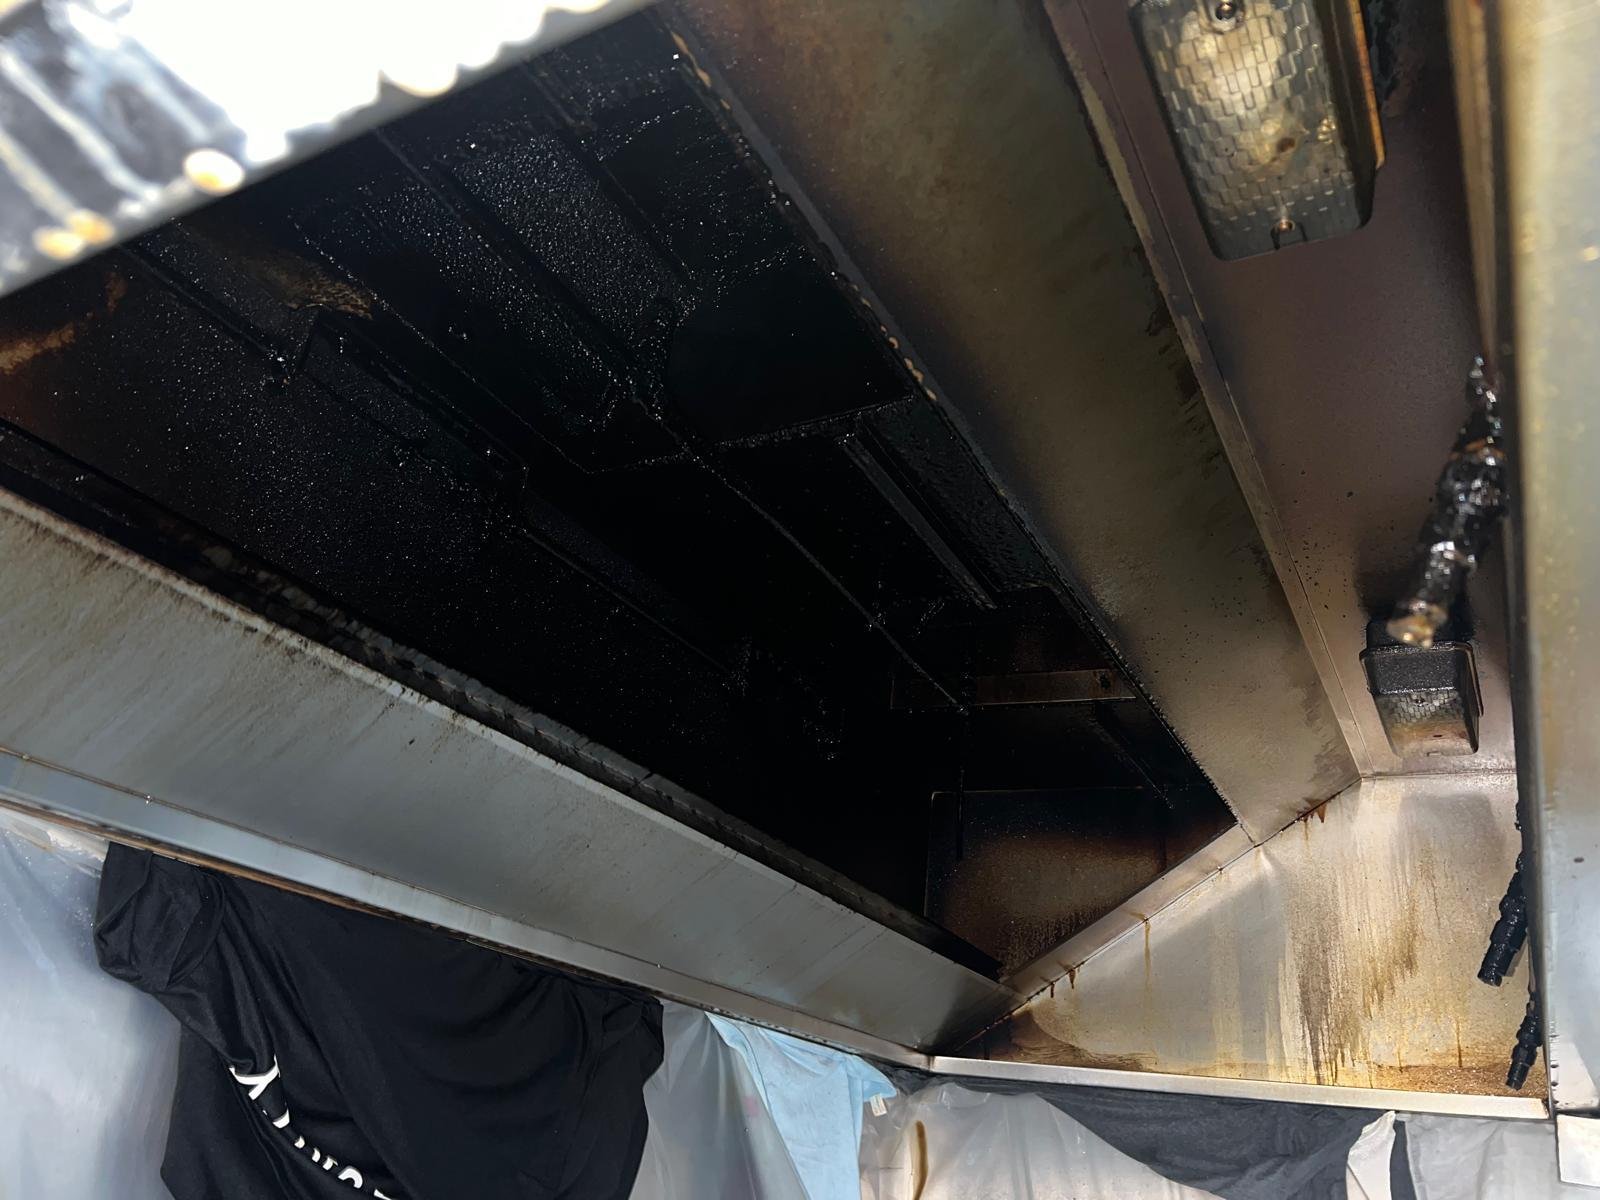
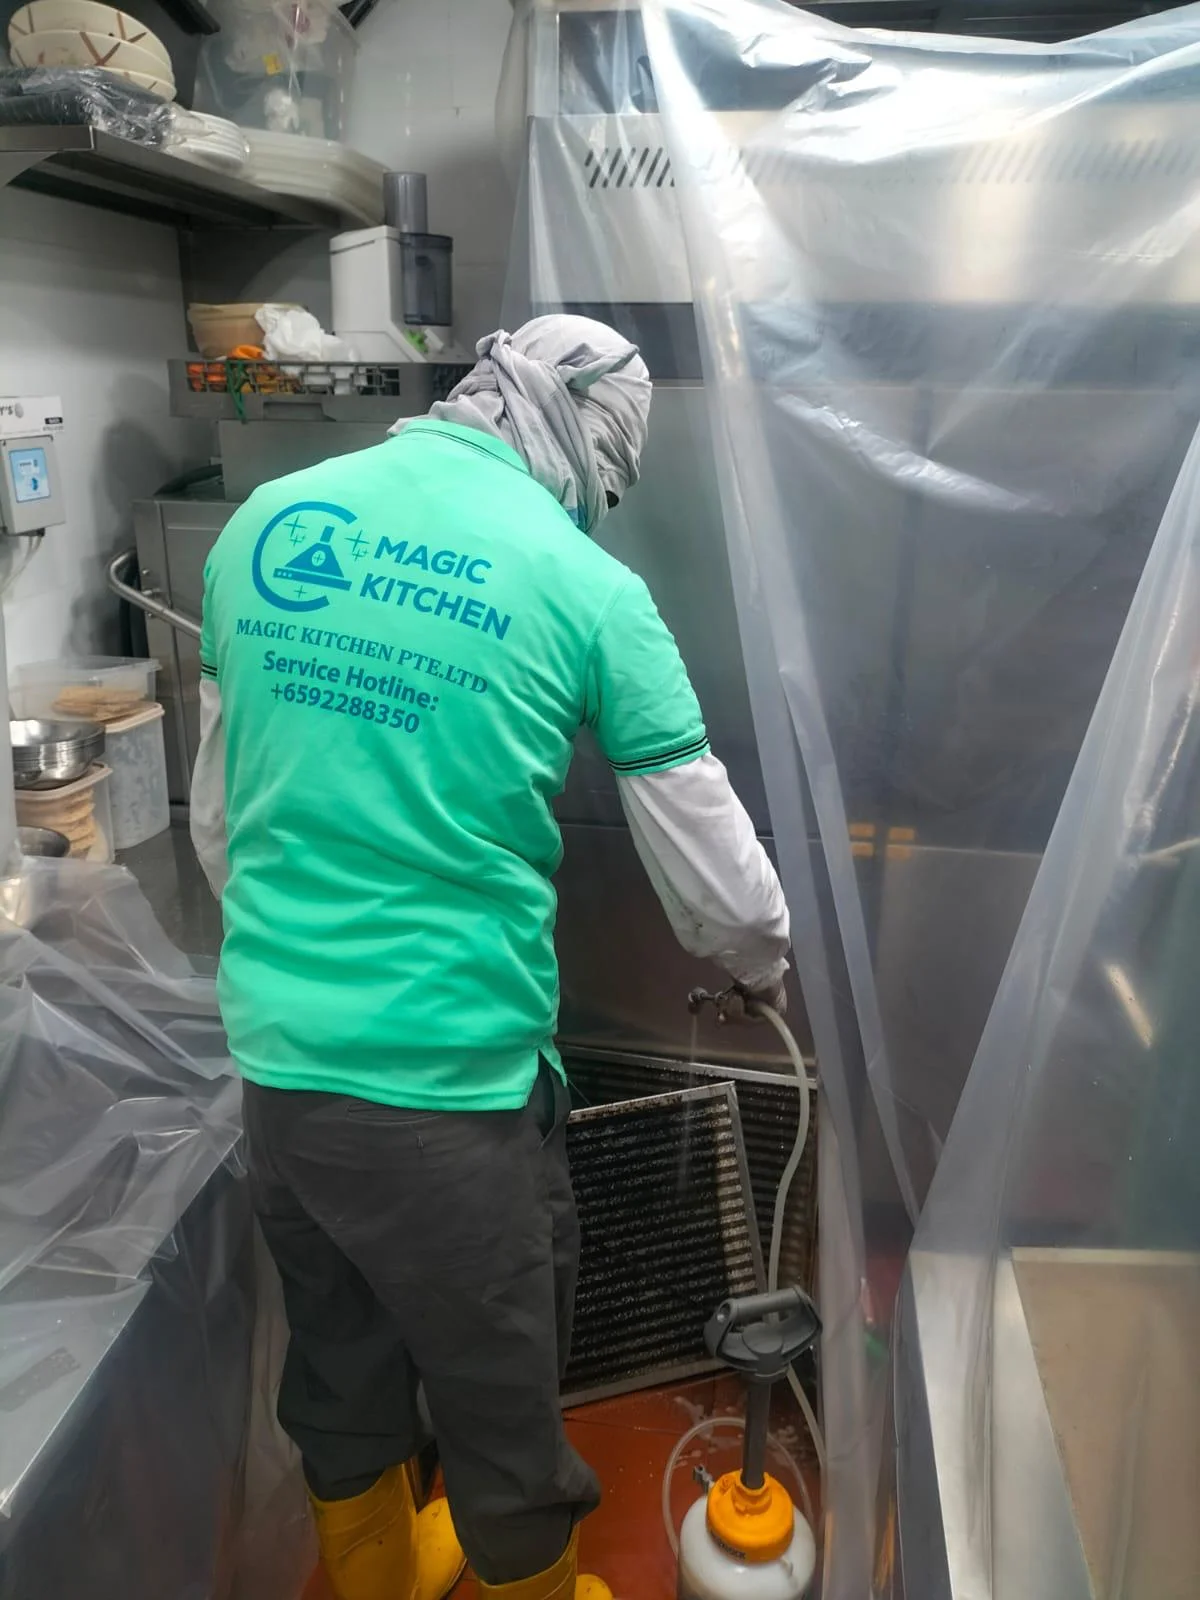
Clean Filters: If your system uses grease filters, ensure they’re installed and clean.
Check for Compliance: Ensure that your installation complies with local building codes, which may require professional inspection or permits.
The installation process can vary depending on your specific kitchen layout, the type of exhaust system you’re using, and local building codes. For some aspects, especially the electrical connections and ductwork installation, it might be necessary to hire a professional to ensure the system is installed safely and effectively.